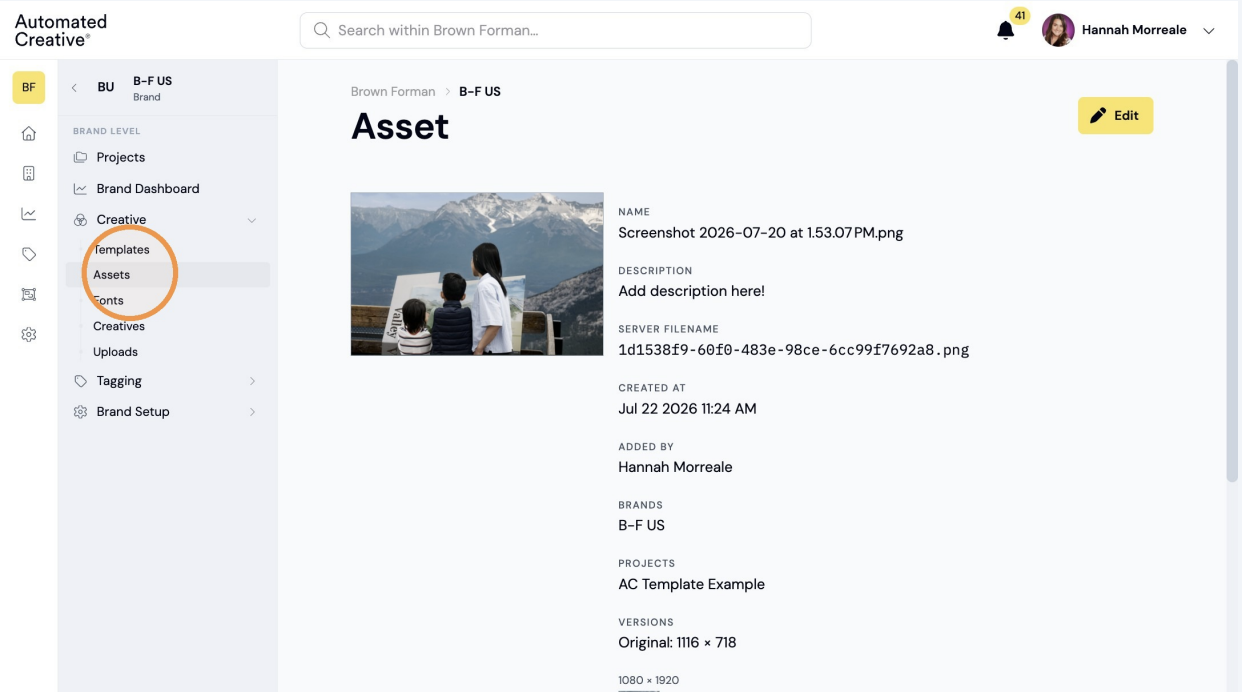
Step 1: Navigate to your client home page. Click "Brands" to explore your various brand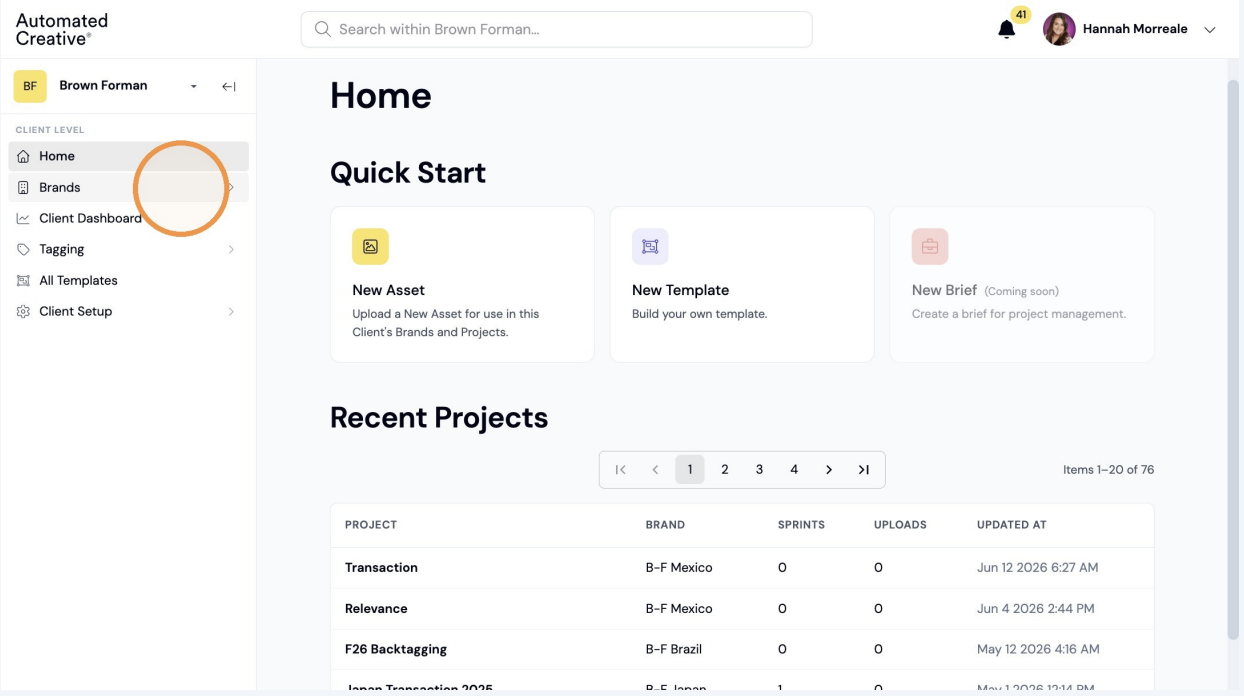
Step 2: Select from the drop down, the brand you'd like to upload an asset to.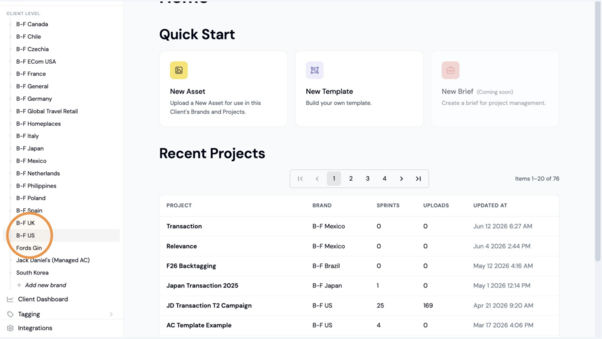
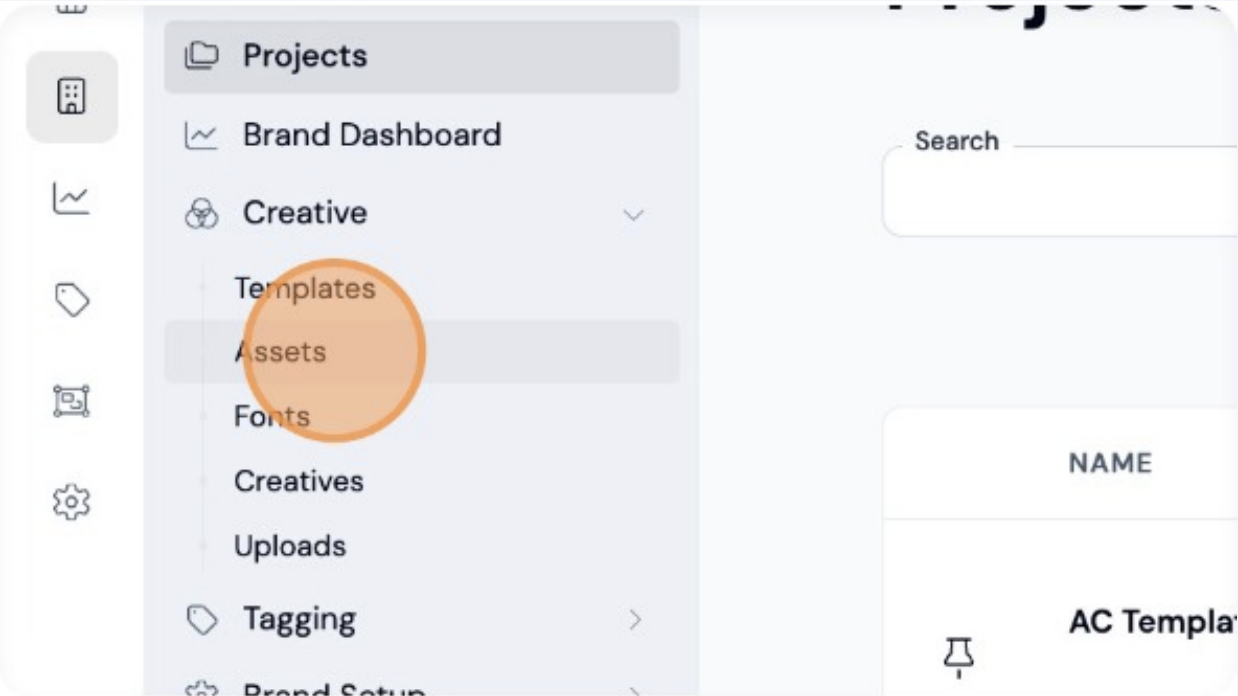
Step 3: You will be navigated to the brand "Projects Page." Click "Creative" to open the drop down menu.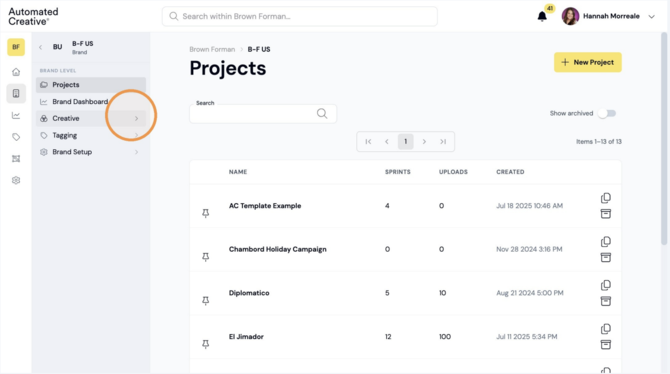
Step 4: From the drop down select "Assets" to open your brands asset bank.
Step 5: Click "New Asset" in the top right corner to start a new Asset upload.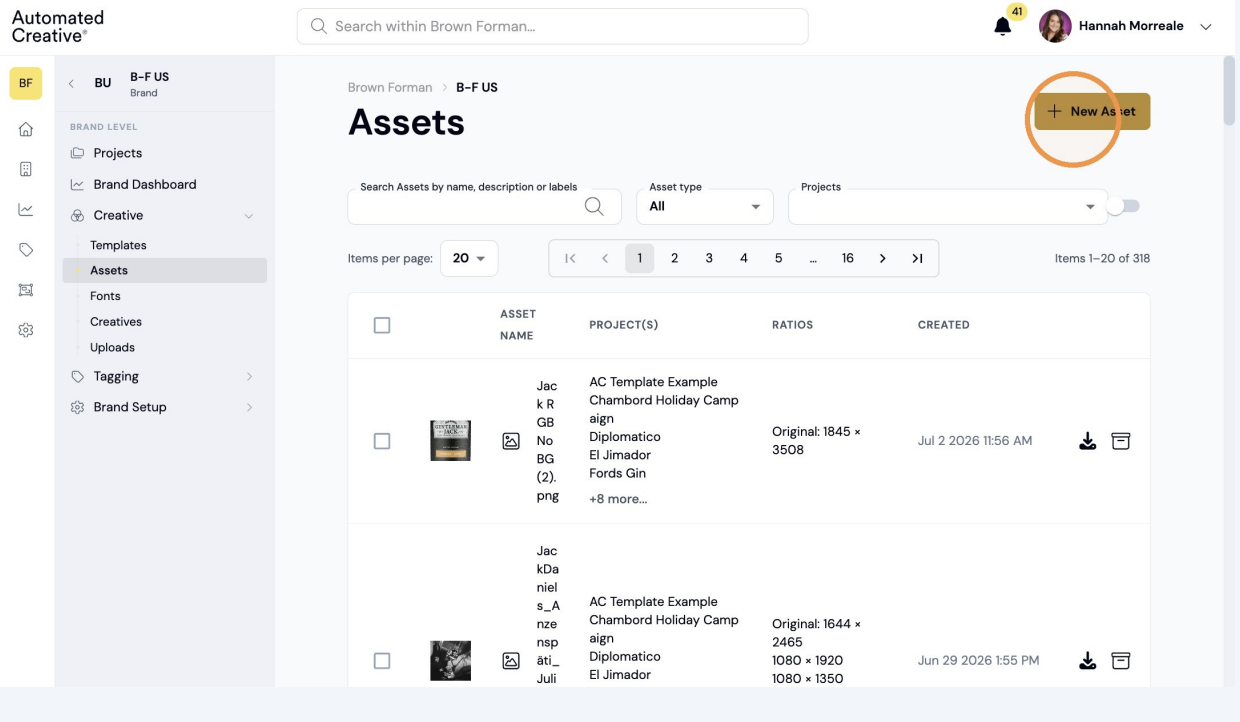
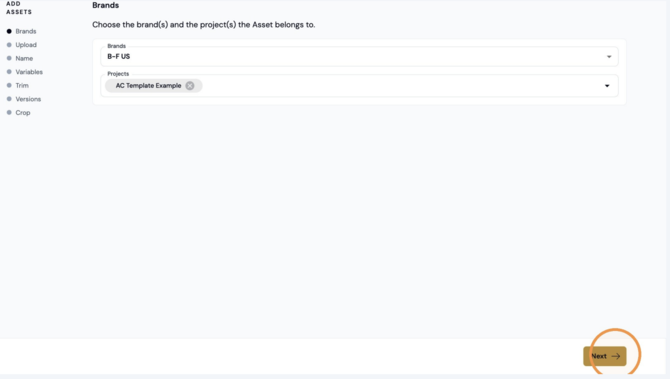
Step 6: Click the "Projects" field to select what "Project(s)" you'd like this asset to be added to.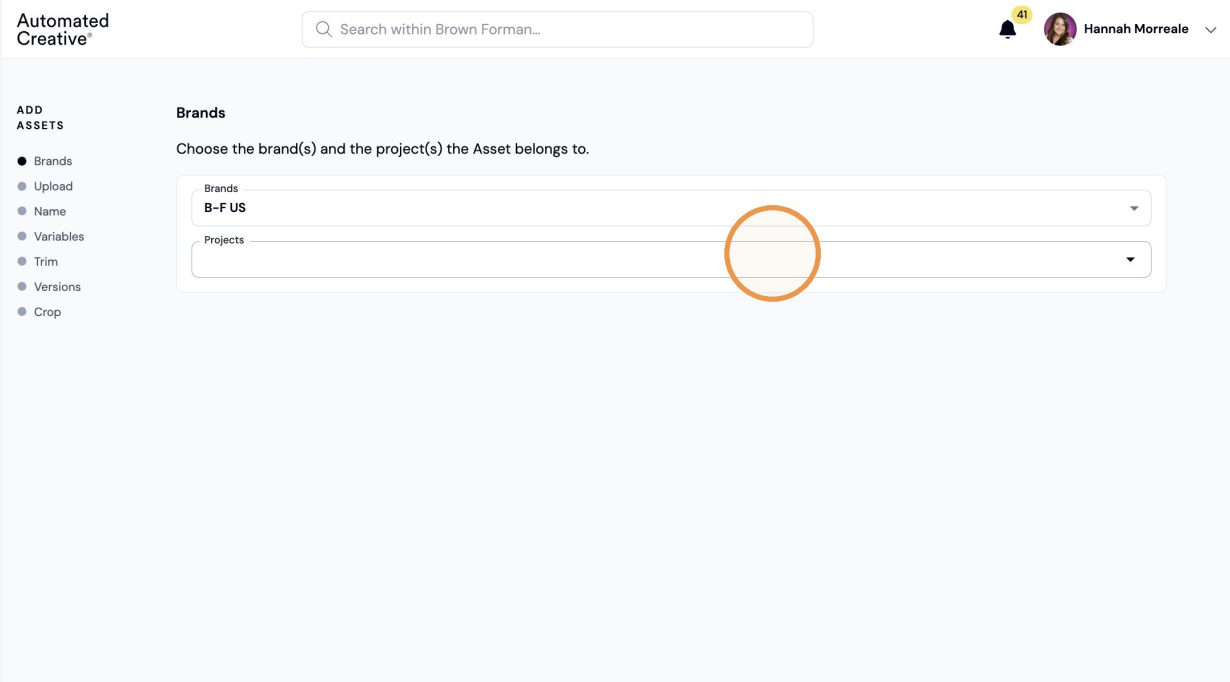
Step 7: You have the option to "Select All" Or select individually by "Project(s)."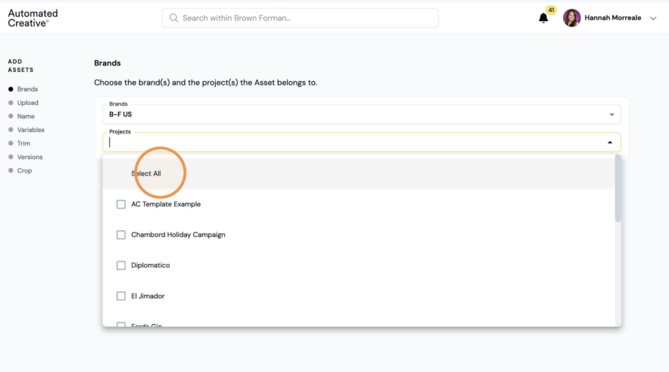
Step 8: Once happy with your Project(s) selection. Click "Next" in the bottom right corner.
Step 9: Click here or "Drag & Drop" your new Asset(s) in the box.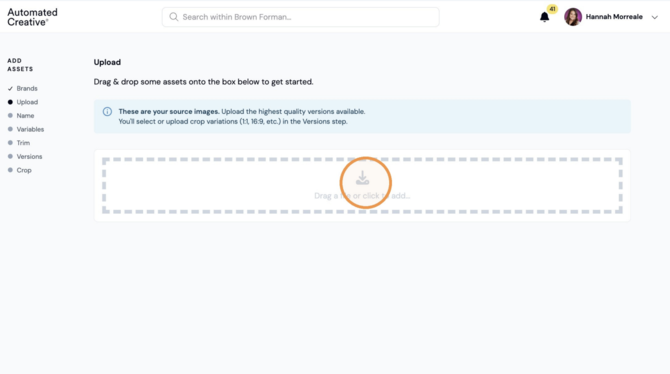
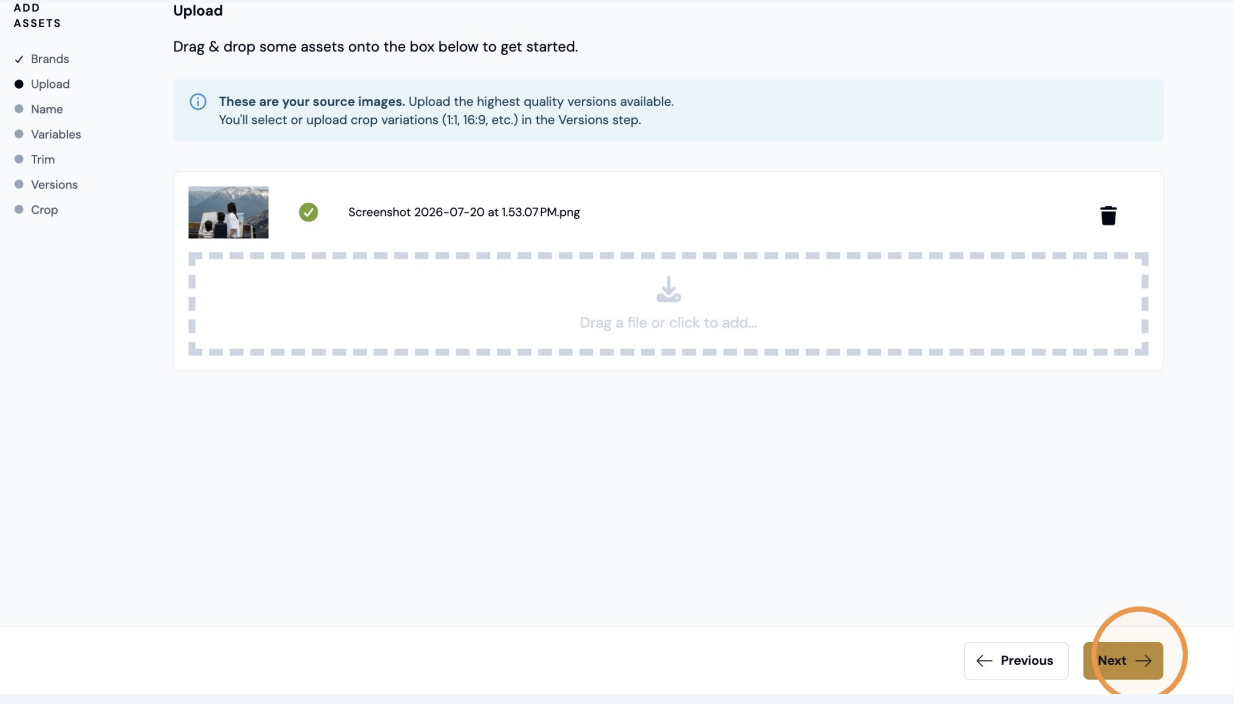
Step 10: Once your Asset(s) have loaded. Click "Next" in the bottom right corner.
Step 11: Add an Asset name (keeping the file type suffix ex. png/jpeg/gif) and an optional description in the "Name" and " Description" field's here.
Once happy with "Name" & "Description" click "Next" in the bottom right corner.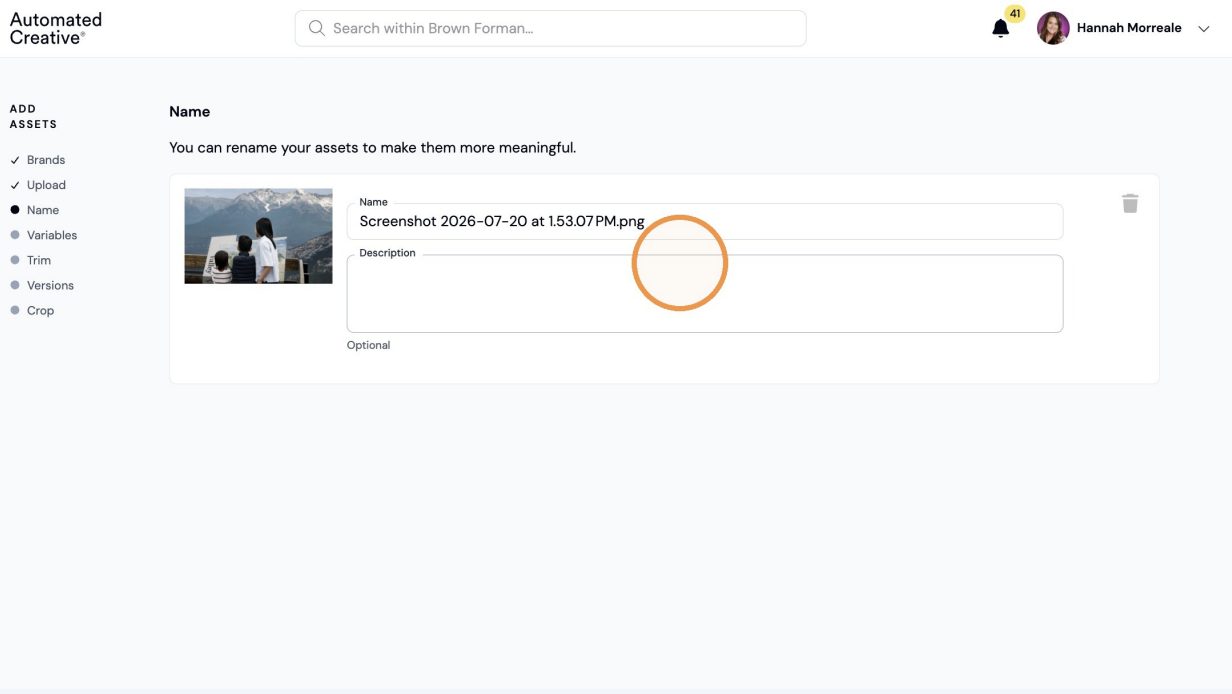
Step 12: On this page there is an optional step to "Add Variable," this step allows an Asset(s) to be specific to one or multiple variables within the Project(s) you've selected.
If you do not add a Variable the Asset(s) will be flexible to use in any Template within the Project(s) you've selected.
Once happy with selection, click "Next" in the bottom right corner.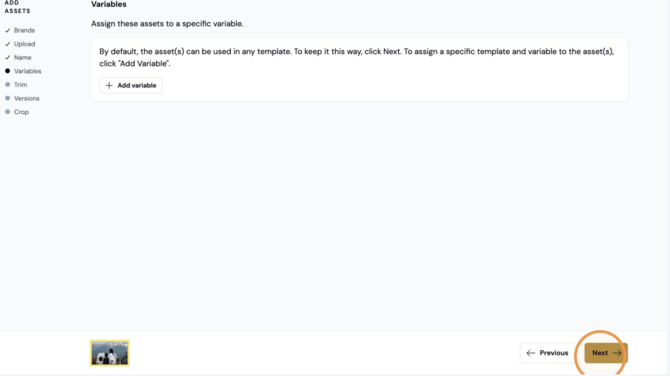
Step 13: The "Versions" page, allows you to select sizes you'd like this Asset(s) to be compatible with. You can select "Versions" individually by size.
Or select full categories of sizing.
For example to select all "Social" versions click the "Select all" button next to "Social."
There is also the option to select "No cropping" this is recommended when uploading logos, product assets or packshots.
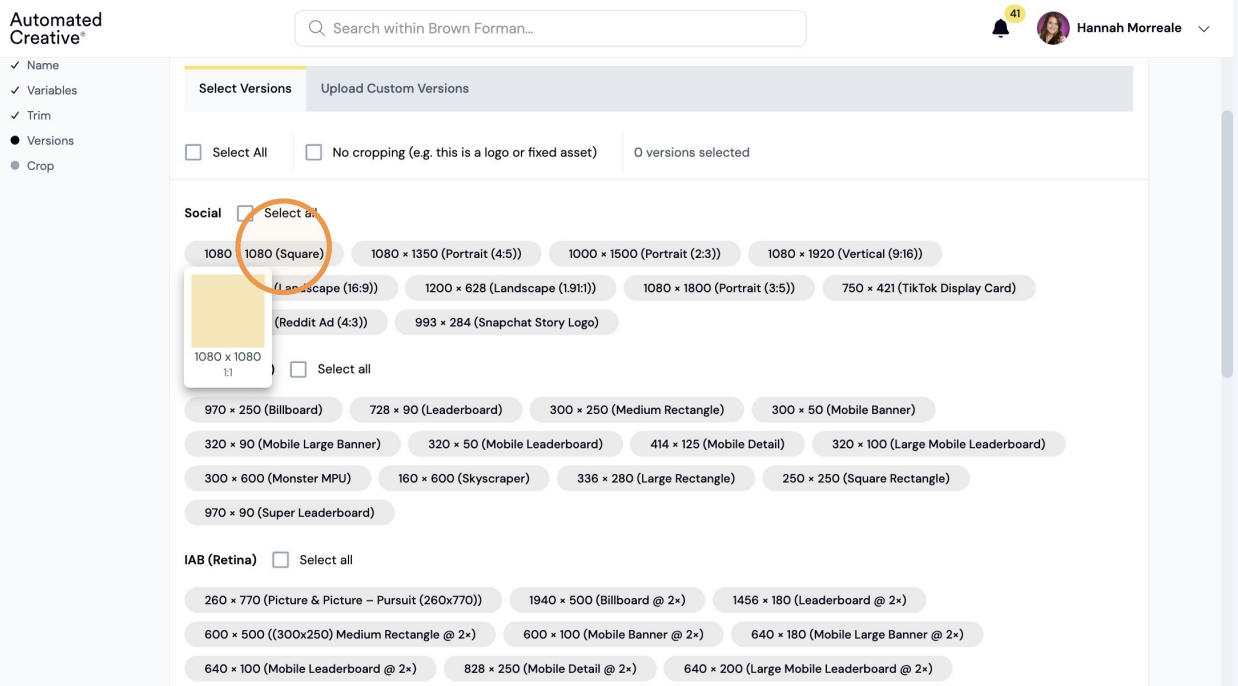
Step 14: Once happy with selections, click "Next" in the bottom right corner.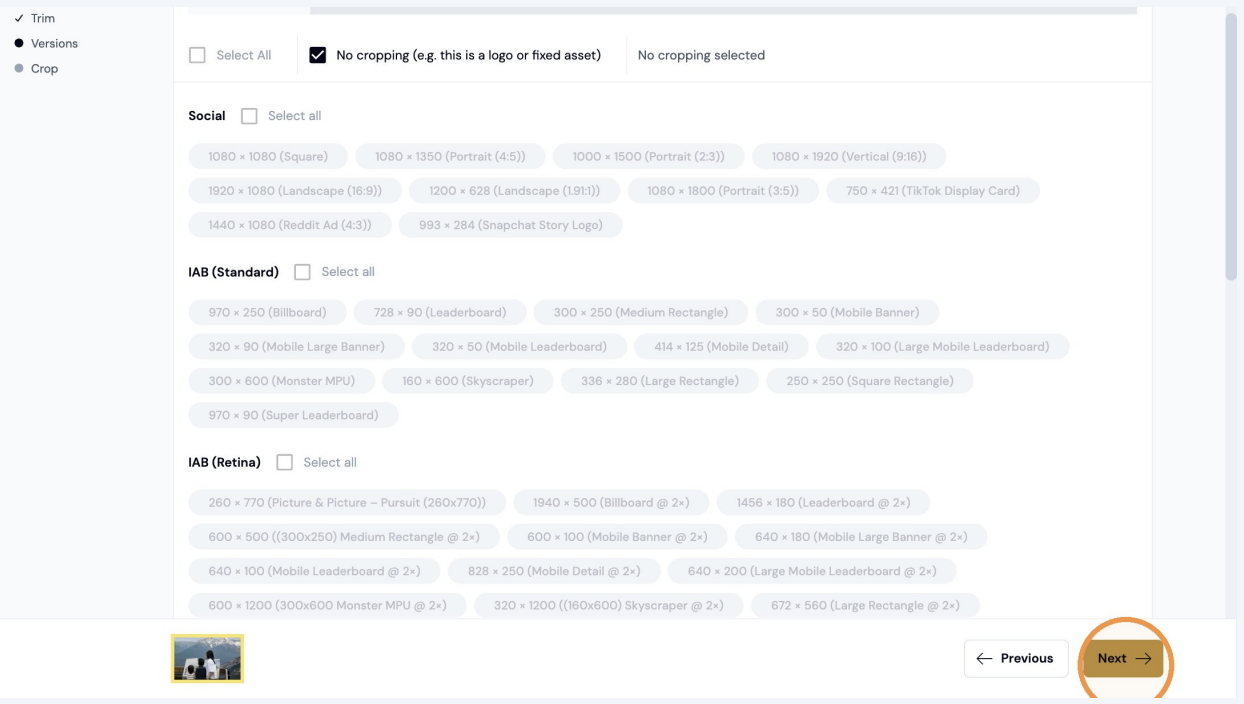
Step 15: On the "Crop" page you now have the option to adjust the scale of your Asset(s) using the "Slider Scale." Drag left to right to adjust Asset(s) scale to your liking.
Once happy with Asset(s), click "Upload Assets"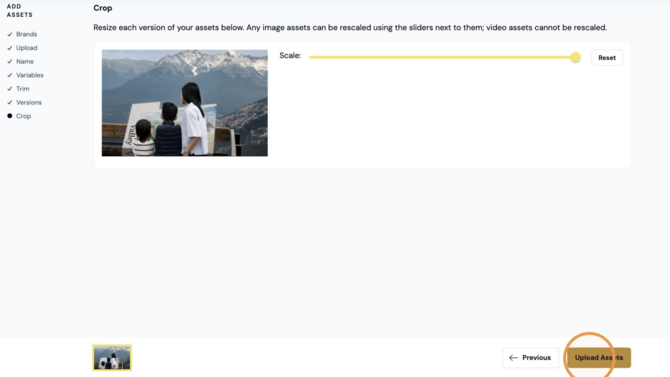
Step 16: You will now see your Asset(s) uploaded to your Brands asset bank! You can click on your Asset(s) to expand in more detail.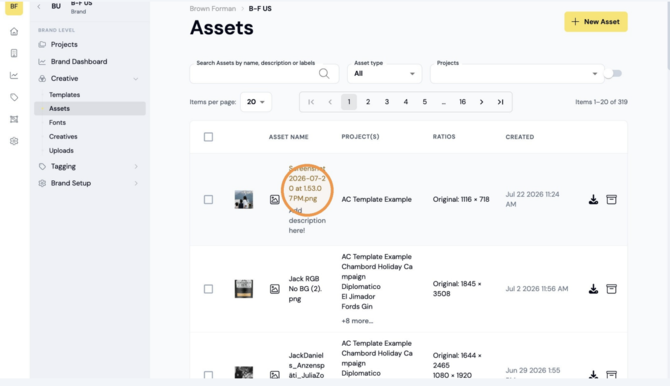
Step 17: After uploading you still have the ability to edit your Asset(s) by clicking "Edit" in the top right corner.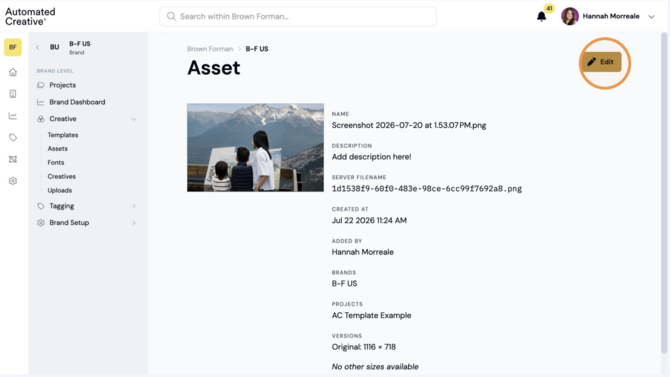
Step 18: Here, you can edit the "File Name" & "Description" as well update the different categories below:
"Brands": Update to include the Asset within other internal brand asset banks.
"Projects": Update to include the Asset within other brand specific projects.
"Variables": Add variables to restrict the image to one or more specific variables.
"Versions": Update to add specific sizing.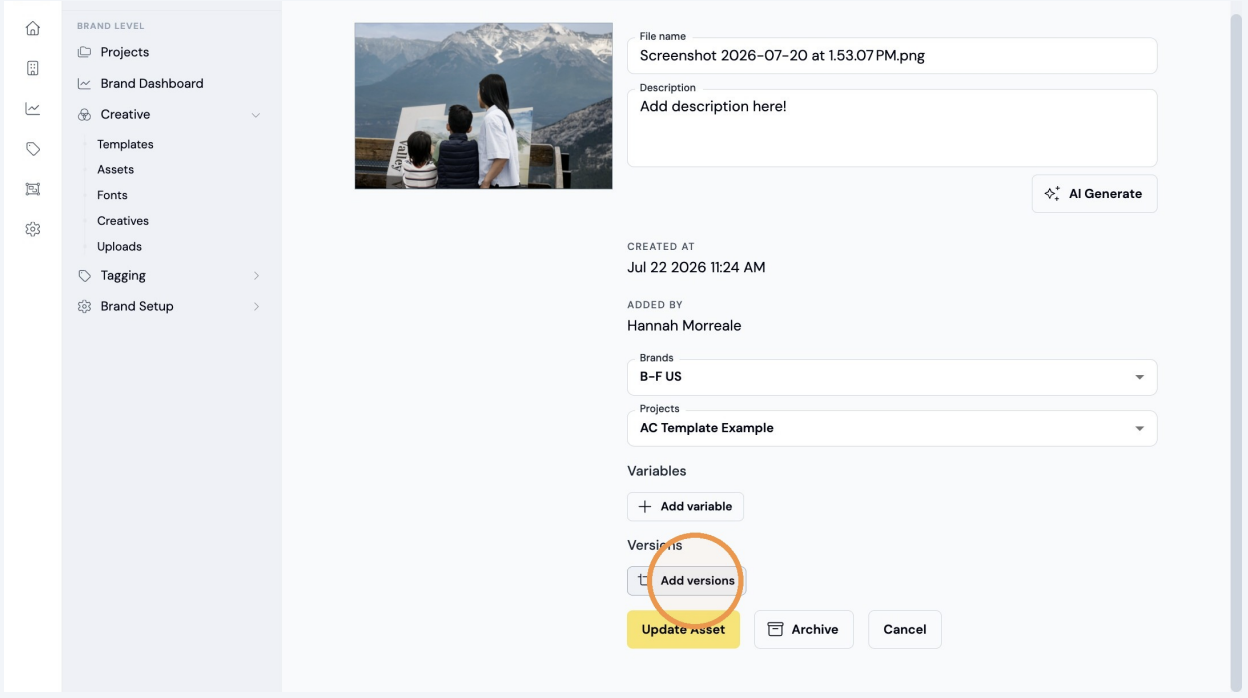
Step 19: Once happy with changes, click "Update Asset"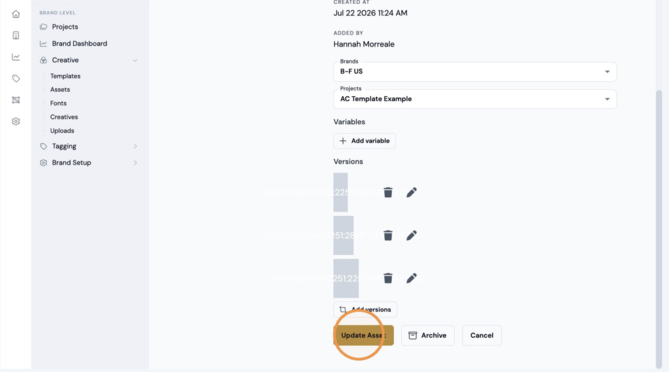
Step 20: And now you have uploaded and updated your Asset(s)!